
I have made some progress in the last few weeks, especially concerning some light body work….
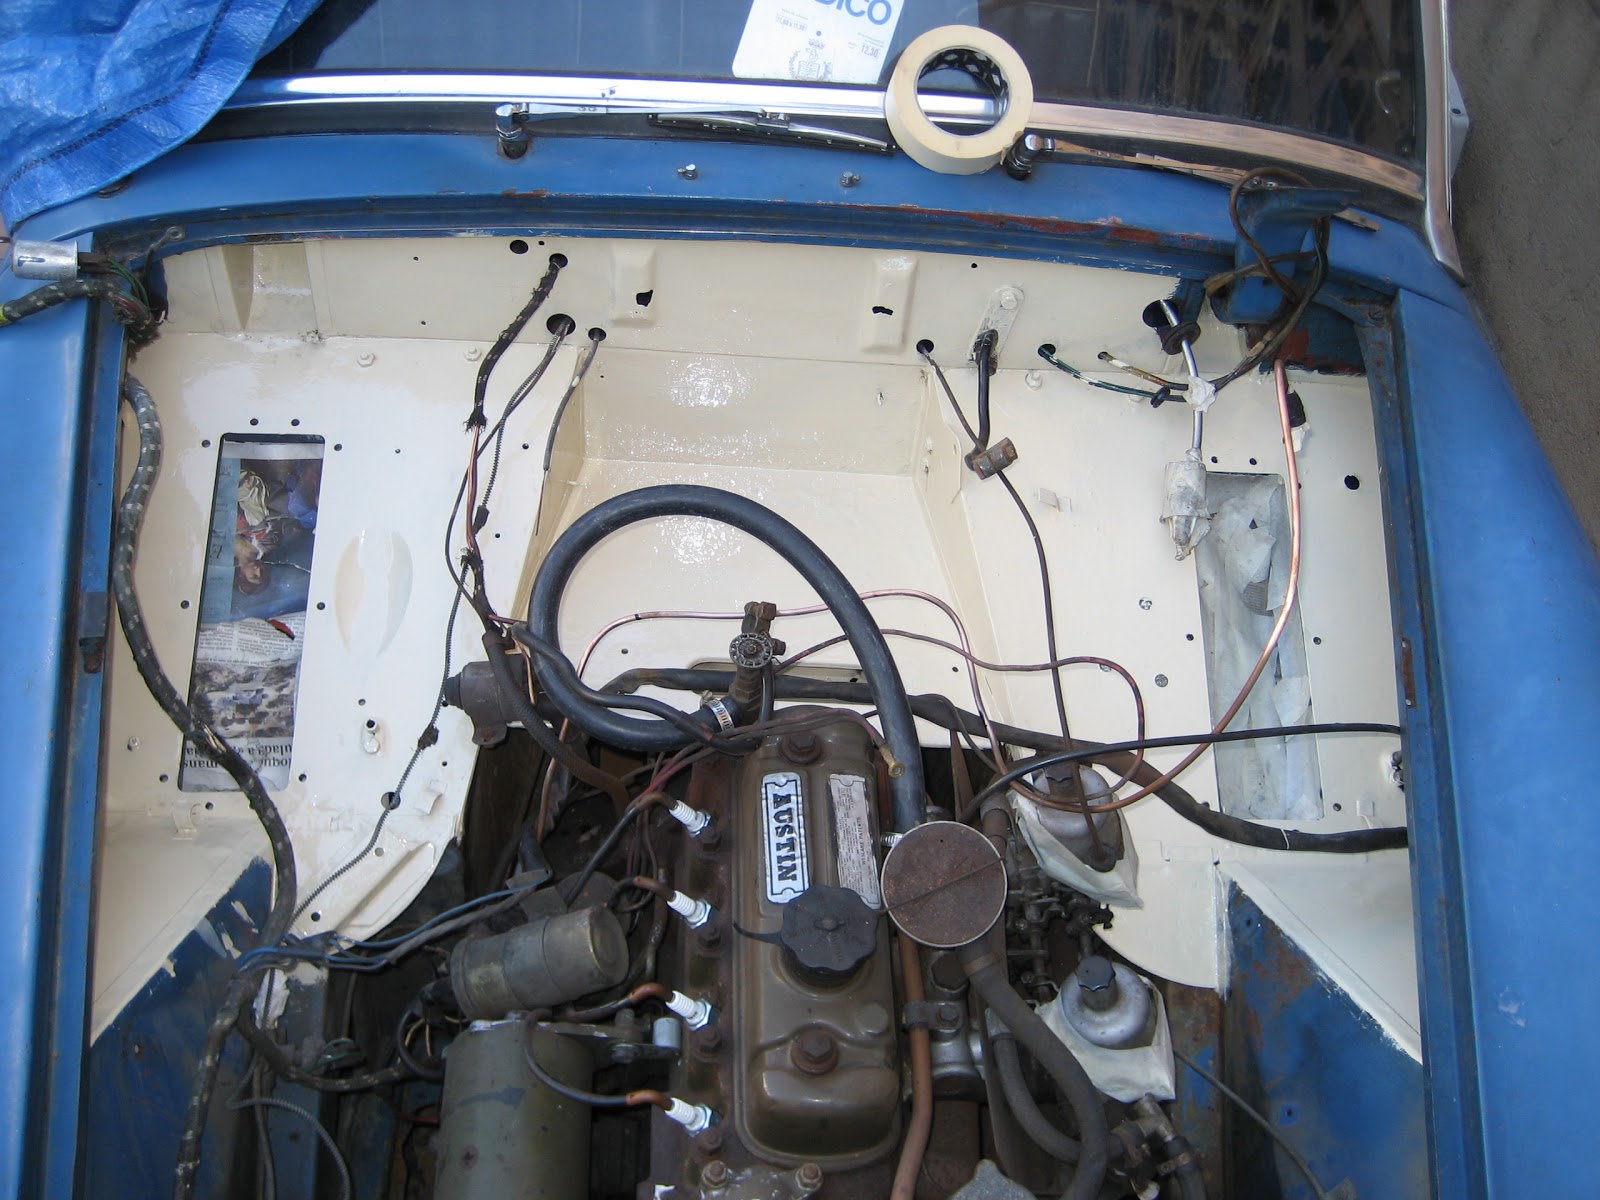
Engine bay was looking ugly….. rust here and there, blue paint chipping and fading…. My problem is that I have not removed the engine as I don’t have the possibility, so had to manage the situation with it in place.
With an angle grinder and the wire brush cup attachment, y removed all the rust on the surrounding panels of the pedal assembly and the battery tray. The surroundings of the pedal assembly have rust because of brake fluid I suppose, and the battery tray because of the acids… Rust on the battery tray was severe, and I really don’t understand why and the rest of the car is ok with only surface rust. After removing most of the rust scale, the tray had still force so I decided not to change it, as that will need soldering new plate. I used some por-15 paint to neutralize rust and encapsulate it.

Other parts of the engine bay had no rust, but paint was in terrible situation, so removed it, and just left the original red primer which in most cases was in very good condition. After using a coarse sanding sponge over the red primer and the dry por-15, I gave all the surface 2 coats of TitanYate two pack epoxy primer. It´s made by the Spanish paint company Titan, and it´s an epoxy primer for maritime and very hard environments, and with a cost of 35eur the liter, it´s a great deal. Maybe it´s not cosmetically perfect as a PPG 150 eur primer, but I am sure it is hard enough.
Once dry, and with a light sanding, I could finally apply the Riviera Blue (BU44 code) 2 pack paint. Results?? Well, considering I had no possibility to use a spray gun, and that I used a sponge brush, have to say it´s quite nice. Let’s be realistic, it´s only the engine bay, and for the outside, I will of course take the car to a professional workshop. Why did I only paint half engine bay? Because I have no time to do more, and because I did not want to spend time restoring the heater, wiper, pedal assembly, and fit them on a poor surface. I will make the rest of the engine bay in the near future, once I have passed MOT and the car is drivable.
Before taking the car to the mechanic for brake and suspension work, I wanted to completely restore the cooling system. That means removing the radiator for cleaning and flushing, fitting new thermostat, water pump and all the rubber hoses.
Radiator removal is easy, only 4 bolts attaches it to the frame. It was more difficult to remove those hard rubber hoses, they where rock solid after so many years, so just broke them…
I first used high pressure water to clean the outside of the radiator, and ended attaching a garden hose first to the top to flush all the dirt and scale. On the next small video you can see all the dirt coming out of the radiator… could not catch the first seconds, where water was completely brown.
Always put pressure water on both directions. After some shaking, and plenty of pressure water, the radiator was clean. Finally, some light sanding and after a small satin black can paint, the result was great. Don’t bother using high temp black paint. Radiator will never go beyond 120º, and high temp paint are not cheap. A good black mat enamel paint will do the job.


BTW, while removing the bottom drain plug, the small metal plate had broken, so I had to solder it again. I used some silver soldering (5% silver), and I am very satisfied with the result.


The thermostat housing gave me some headache. Two of the stud had a lot of corrosion or debris, and the housing won’t come off…. After nearly 40 minutes, plenty of wd40 and swearing, I could remove it. Uhhggg the thermostat situation was nasty….

The water pump was easy to remove, and just needed to sand the surface to remove all traces of the old gasket. The new pump is aluminum cast, whether the old one is iron cast. I have read several times, that the original ones are much better, so I was thinking in sending it to a specialist to service it, but only if the price is correct. Any idea where to send it???

Last week I finally received the new master cylinder, so I fitted it to the pedal assembly, which I had previously cleaned, and sand blasted. It was in terrible condition with no traces of the original paint due to the brake fluid leaks… I used plenty of grease in all the pivots and big screws. The final result of the pedal assembly painted, with the new MC, new bolts, and the clean and shinny engine bay if great.


Next weekend I will be fitting the painted fan, belt, radiator and fill with coolant, and much, much more….
So far, so good...
very interesting good man
ReplyDelete